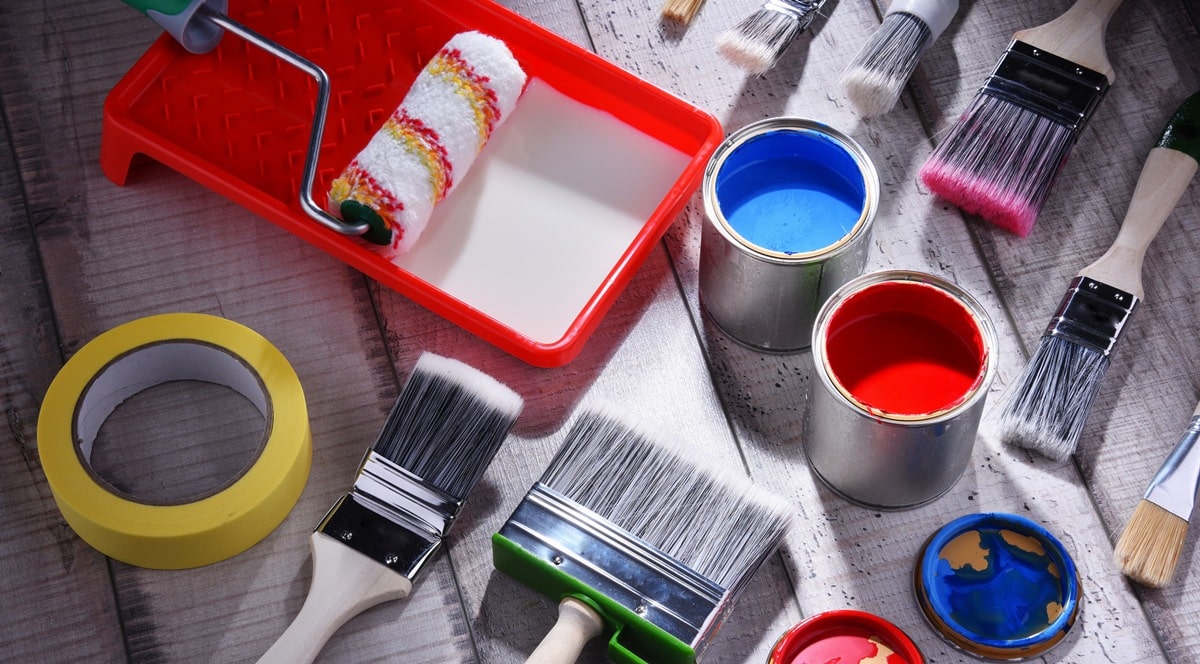
A flawless paint finish starts with having the right tools. Interior house painting can be a fun and rewarding project—especially when you’re equipped to do it well. If your goal is smooth walls, crisp lines, and even coverage, it all comes down to choosing the best tools for DIY painting.
Before you pick up a brush, let’s break down exactly what you need for a flawless paint job—and why the pros swear by these tools.
Key Takeaways:
- The right prep tools make painting easier and faster.
- Quality brushes and rollers matter more than you think.
- Specialty tools can take your finish from average to amazing.
- Investing in pro-recommended tools saves time and frustration.
- Proper cleanup tools extend the life of your supplies.
Start with Solid Prep Tools
Ask any pro, and they’ll tell you: prep is everything. Painting over dirty, uneven, or damaged walls will never give you a great finish. Here’s what you’ll need to get started:
- Drop Cloths: Protect your floors and furniture. Canvas is best—it stays in place and is reusable.
- Painter’s Tape: Blue or green painter’s tape ensures sharp lines and protects trim, baseboards, and ceilings.
- Spackling Knife and Spackle: Fill in holes or dents for a smooth surface.
- Sanding Block or Pole Sander: Helps level out patched areas and rough spots.
- Cleaning Supplies: A sponge, water, and mild soap or TSP for wiping down walls before you paint.
Taking 30 minutes to prep properly can save you hours of fixing mistakes later.
Brushes That Actually Work
Don’t fall for the cheap multipack at the hardware store. High-quality brushes make a world of difference in the finish.
- Angled Brush (2-2.5″): Perfect for cutting in along edges and corners.
- Flat Brush: Good for baseboards and wide, flat areas.
- Synthetic Bristles: Ideal for water-based paints (which most interior paints are).
Pro tip: Wash your brushes thoroughly after each use, and store them flat or hanging to keep their shape.
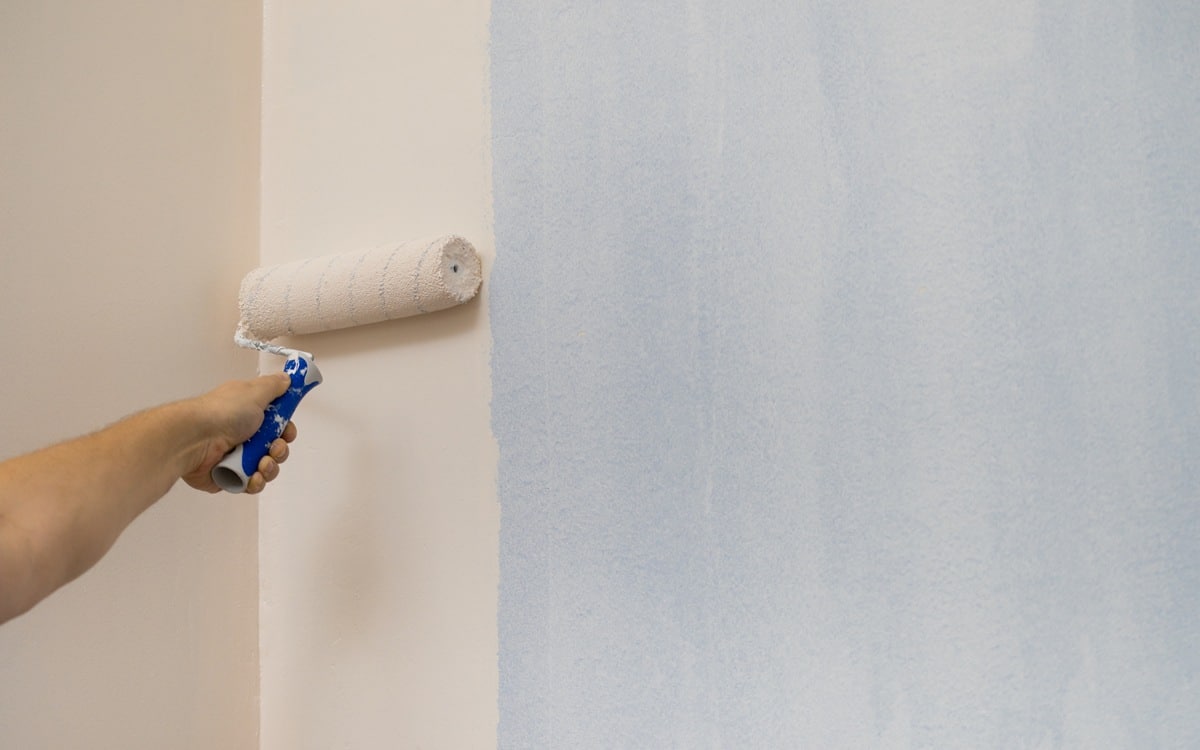
Choosing the Right Rollers
Not all rollers are created equal. The texture of your walls and the type of paint you use should guide your roller choice.
- Nap Length Matters:
- 1/4″ nap: Best for smooth walls.
- 3/8″ nap: Good for lightly textured walls.
- 1/2″ or more: For textured or rough surfaces.
- Quality Core: Look for rollers with a strong inner core that won’t warp or slide.
A sturdy roller frame and an extension pole can also make your job a lot easier, especially for high walls and ceilings.
Specialty Tools That Level-Up Your Finish
Once you’ve got the basics, here are a few game-changers that pros often keep in their arsenal:
- Edging Tool: Helps create clean lines without taping (though some practice is required).
- Paint Tray with Liners: Makes cleanup fast and lets you swap colors easily.
- Paint Grid: For use with 5-gallon buckets—no tray needed, and less mess.
- Corner Painter: Designed for those hard-to-reach corners.
- Mini Rollers: Great for cabinets, furniture, or tight spaces.
These small additions can make your paint job look like it was done by a seasoned pro.
Must-Have Tools for Interior House Painting Touch-Ups
Even after the paint dries, you might spot little imperfections. Here’s what helps with fast fixes:
- Artist Brushes: For super small touch-ups.
- Touch-Up Bottle: A small, sealable container for storing leftover paint.
- Lightweight Putty: Handy for fixing nail holes that reappear after painting.
Keep these tools on hand for post-painting perfection.
Don’t Forget Cleanup and Storage
Your tools are only as good as how you care for them. Here’s what you’ll need to keep everything in great shape:
- Paint Comb: Cleans deep into brush bristles.
- Roller Cleaner: Removes paint and helps dry rollers quickly.
- Seal Bags: Store brushes and rollers overnight if you’re pausing for a day.
- Label Maker or Tape: Mark paint cans with the room and date for future reference.
These simple steps can stretch your tools across multiple projects—and save you money in the long run.
Bonus Tips from Painting Pros
Want to paint like a professional? Here are some extra tips we’ve gathered from people who do this for a living:
- Always cut in first, then roll. This blends edges more smoothly.
- Don’t overload your brush or roller—two light coats beat one heavy one.
- Keep a damp cloth nearby to wipe up mistakes fast.
- Stir your paint every time you pour from the can.
- Paint in natural light whenever possible to see the true color and coverage.
FAQs: Best Tools for DIY Painting
Q: Do I really need to spend extra on expensive tools?
A: You don’t need the top-of-the-line for everything, but investing in a few quality brushes and rollers can seriously improve your results.
Q: Can I reuse my painting tools?
A: Yes! Clean them properly after use, and they’ll last through several projects.
Q: Are paint sprayers worth it for interior house painting?
A: They can be useful for large spaces or smooth finishes, but they require setup, masking, and a learning curve. For most DIYers, rollers work just fine.
Q: How do I avoid streaks and roller marks?
A: Use the right nap length, don’t press too hard, and apply two thin coats.
Q: What’s the easiest way to paint edges?
A: A high-quality angled brush or edging tool will help you paint edges cleanly without taping everything.
Get Pro-Level Results!
With the right tools and a little know-how, your next interior house painting project can turn out beautifully. Choosing the best tools for DIY painting is a smart first step—but having expert support can take your results to the next level.
Let Islanders' Choice Painting Co be your go-to resource for flawless paint finishes. From personalized advice to top-notch painting services, we’re here to help you get the job done right. Call us today at 778-910-5116 and let’s bring your vision to life!

