Thinking about painting your home’s interior? Smart move. But before you even pop the lid off a can of paint, there’s something crucial you need to do: prep. Whether you’re going DIY or hiring professional interior house painters, learning how to get ready for interior painting is the secret ingredient to a stunning, lasting paint job. And believe it or not, how well you prep your space can make or break the final result.
Key Takeaways:
- Proper prep ensures a smoother, longer-lasting paint job.
- Decluttering and cleaning surfaces is essential.
- Hiring professionals? Prepping beforehand still matters.
- Skipping prep can lead to costly do-overs.
- You don’t need to be a pro to prep like one.
Why Prepping Matters More Than You Think
Let’s be honest — painting feels like the fun part. Choosing the colors, imagining the new vibe of your rooms — that’s exciting. But how to get ready for interior painting is where the real magic begins. Prepping your home saves time, protects your belongings, and sets the stage for crisp lines and vibrant color.
Professional interior house painters know this. It’s why they often spend more time prepping than painting. The same should go for you. The better your prep, the better your outcome.
Start With a Walkthrough
Before lifting a drop cloth, take a slow walkthrough of your space. Ask yourself:
- What furniture needs to be moved?
- Are there holes or cracks in the walls?
- Which areas will need more than one coat?
- Do I have enough ventilation for drying?
You’re not just scanning for painting opportunities — you’re identifying prep challenges. This walkthrough can also help you flag anything your painters should know.
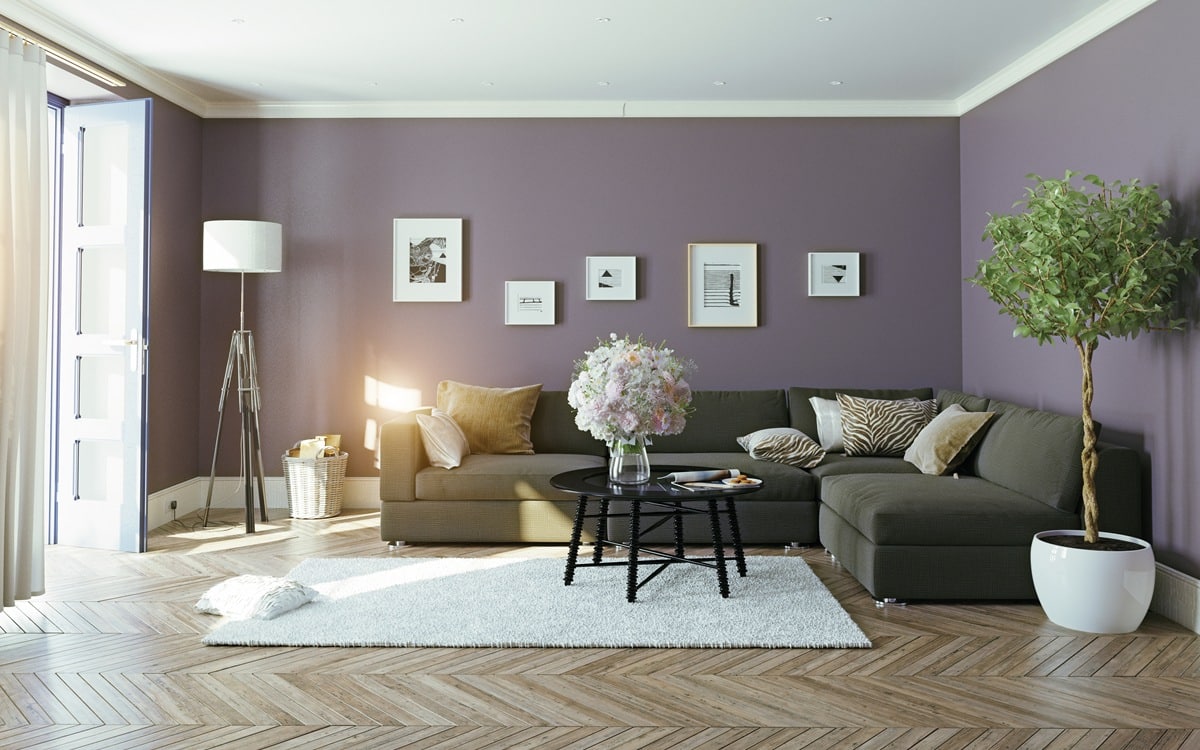
Clear the Space
You don’t need to move everything out of a room, but the more you can clear, the better. Large furniture can be pulled to the center and covered with plastic sheeting. Smaller items? Out of the room entirely. Don’t forget wall hangings, curtains, blinds, and any outlet covers or switch plates.
Here’s a basic checklist:
- Remove wall art and decor.
- Take down curtains and rods.
- Move light furniture to another room.
- Push large pieces to the center and cover.
- Remove or cover ceiling fans/light fixtures.
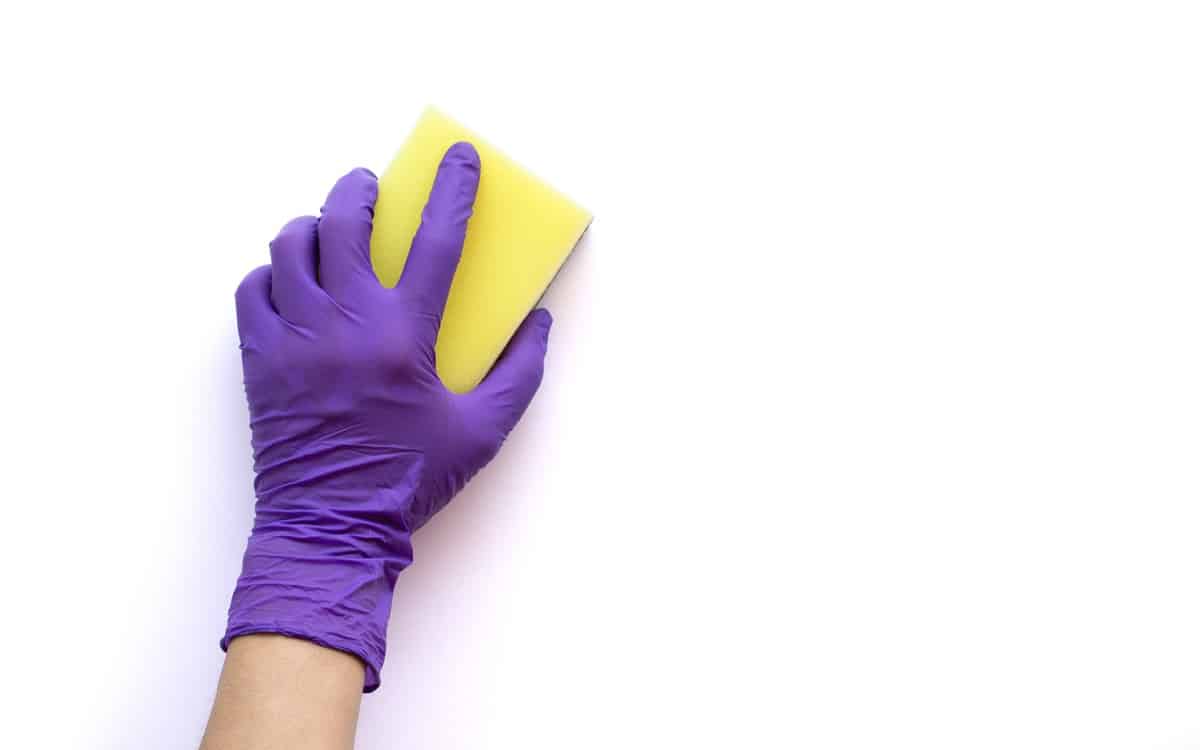
Clean Like You Mean It
Paint sticks better to clean surfaces. Dust, oils, and old grime will stop paint from adhering properly. Use a mild detergent or TSP substitute to wipe down your walls. Pay special attention to:
- Kitchen and bathroom walls (grease and steam buildup)
- Areas near light switches and door handles
- Baseboards and trim
Let the walls dry completely before painting. If you’re hiring professional interior house painters, they may still do a final clean, but starting with clean walls saves time and money.
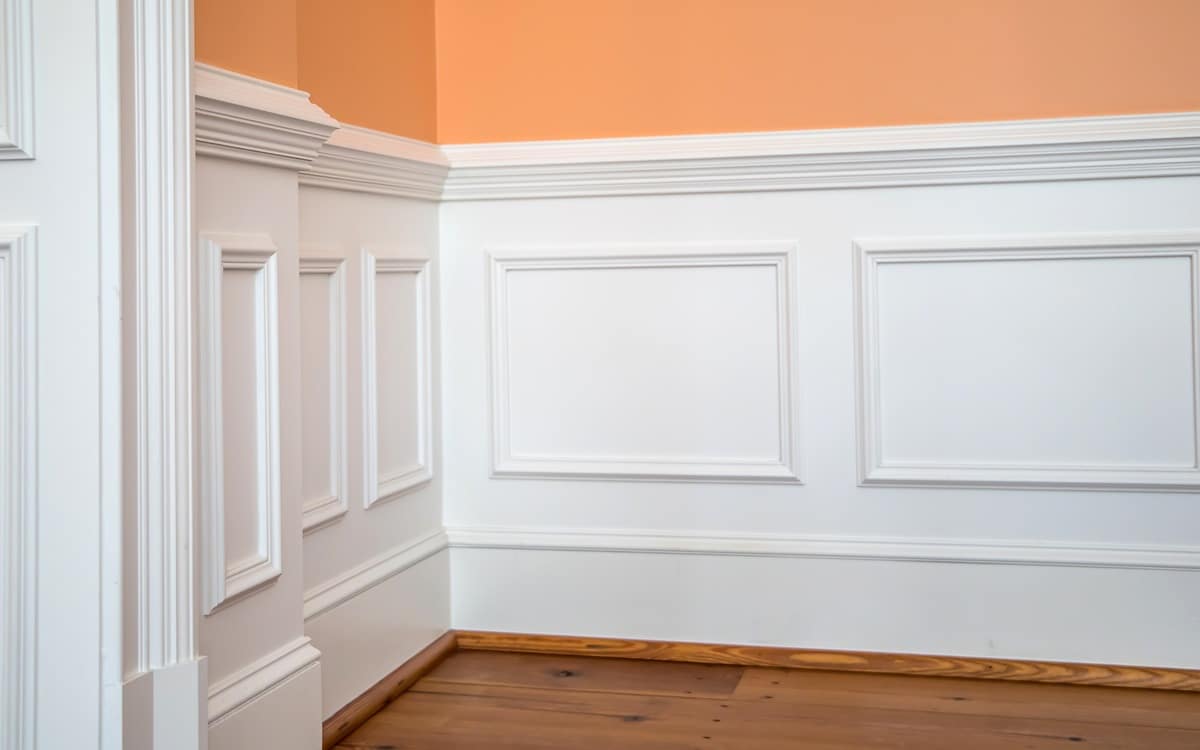
Repair What’s Broken
Got nail holes, dings, or tiny cracks? Grab some spackle or joint compound and a putty knife. Fill in those imperfections, smooth them out, and let them dry. Then sand until it’s flush with the wall. For larger cracks or water damage, consider calling in the pros.
Here’s what you’ll need:
- Spackle or joint compound
- Putty knife
- Sandpaper or sanding sponge
- Tack cloth to remove dust
Protect Your Floors and Fixtures
Even the neatest painters drip sometimes. Cover your floors with canvas drop cloths (they don’t slide like plastic). Use painter’s tape to mask trim, windows, and other surfaces you don’t want painted.
Pro tip: Don’t use cheap tape. Quality painter’s tape leaves cleaner lines and peels off easily without pulling paint.
Ventilation and Temperature
Paint needs airflow and the right temperature to dry properly. If it’s too cold or humid, drying slows down and finish quality suffers. Keep windows open, use fans if needed, and check the paint can for optimal temperature ranges.
Communicate With Your Painters
If you’re working with professional interior house painters, don’t assume they’ll handle everything. Ask them what they expect to be prepped beforehand. Some companies want furniture cleared and walls cleaned before they arrive. Others include those services in their package.
Ask questions like:
- Will you move furniture?
- Should I clean the walls first?
- Do you handle patching and sanding?
It saves everyone time and avoids frustration.
Label and Organize
Got multiple rooms getting painted different colors? Label paint cans and lids carefully. Use sticky notes or masking tape to label what color goes where. If you’re keeping any leftover paint for touch-ups, mark the room and paint code on the can.
What Not to Do
Let’s be clear — there are mistakes that can cost you big time. Here’s what not to do:
- Don’t skip surface cleaning.
- Don’t assume your painters will prep everything.
- Don’t leave pets roaming the house (they’re curious and love wet paint!).
- Don’t ignore small repairs — they look worse after painting.
How the Pros Make It Easy
Hiring professional interior house painters doesn’t mean you skip all prep — but it sure makes life easier. Pros know how to cover, patch, tape, and clean in a fraction of the time. They bring the tools, the ladders, and the expertise to get crisp, beautiful results without the mess.
If you’re not confident in your ability to prep or paint — or just don’t have the time — calling in professionals is worth every penny. And yes, they’ll still appreciate a well-prepped space when they arrive.
The Final Sweep
Right before painting begins, do a final sweep:
- Double-check furniture coverage.
- Re-tape any loose edges.
- Make sure walls are clean and dry.
- Confirm your paint colors.
- Keep pets and kids out of the work zone.
This quick check ensures everything’s ready for a flawless finish.
Wrapping Up: Prep Like a Pro
Getting your home ready for a new coat of paint isn’t hard — it just takes a little planning. Whether you’re going the DIY route or bringing in professional interior house painters, knowing how to get ready for interior painting helps you save time, money, and headaches.
Need help getting your home prepped and painted with precision? Contact Islanders' Choice Painting Co today at 778-910-5116 to get a free estimate and let our expert painters handle the rest.

